
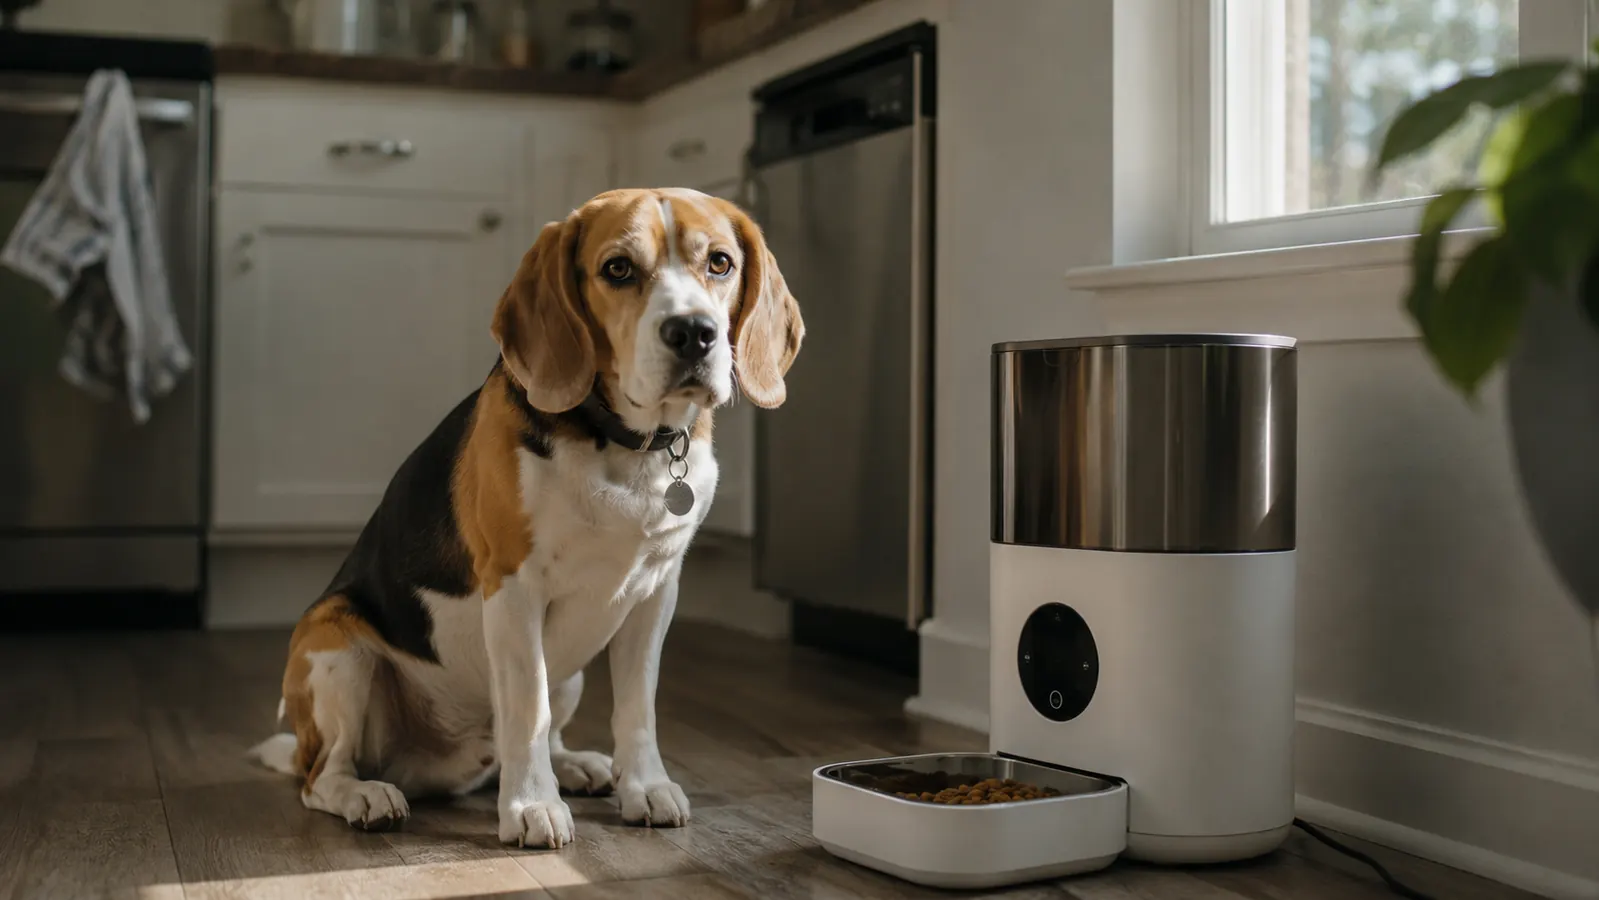
Feeding your pet on schedule sounds simple until real life gets in the way. My beagle Daisy is ten years old and 32 pounds, and the vet wants her on exactly one cup of dry kibble in the morning and one cup in the evening, with no snacks and no skipped meals. That held up fine for years, until I started leaving for work earlier, running errands after, and drifting home later. Breakfast slid to nine, then ten. Dinner slid to seven, then eight. Daisy adapted the only way she could. She started parking herself by the bowl at noon just in case, and she started waking me at five in the morning because she was not sure dinner was coming. I was the problem. I was not consistent.
The fix was an automatic feeder that serves each meal at the same time every day, whether I am home or not. I have been running a PetSafe automatic feeder for about five months now, and the routine finally stuck. It does not solve everything, and I will tell you the honest limits as we go, but the daily scramble to remember breakfast is gone. This guide walks through the whole setup the way I wish someone had shown me: where to put the feeder, how to fill it, how to program it, and how to get a suspicious pet to trust a machine that makes noise at dinner time.
Before you start, gather a few things. The feeder itself, of course, plus the dry kibble your pet already eats, a measuring cup you will only use for food, a clean, level spot on the floor, and a handful of treats for the introduction step. Read the manual once, even the boring parts about the clock and the batteries, because every model is a little different and the setup buttons are not all identical.
For the record, this was not cosmetic. Daisy's vet had flagged her weight creeping up, and the cause was obvious on paper: too many treats, too many late dinners, and a breakfast that got fed whenever I got around to it. A fixed schedule with measured portions was the plan, and the feeder is what made the plan survivable. When the vet asks how many meals she gets and at what time, I can now answer without guessing.
A feeder that never forgets breakfast
The PetSafe automatic feeder holds 40 ounces of dry food, serves up to five meals, and has more than eleven thousand owners rating it 4.4 stars. It is the feeder that ended my missed-meal scramble.
Amazon Check Today's Price on Amazon →Step 1: Choose the Right Spot and Level It
The PetSafe feeder needs a flat, level patch of floor. I started on the rubber mat by the back door, and the mat squished under the weight, which left the feeder sitting crooked. That is exactly the kind of small thing that turns a reliable machine into one that jams on a Tuesday. Move it to a hard surface: kitchen linoleum, bare tile, or hardwood all work. Deep carpet and squishy mats do not.
Give the unit a few inches of clear space on every side so the top can open the next compartment without rubbing a wall or a cabinet. Keep it out of direct sun and away from the heat register, because dry kibble stays fresher when it is not being baked all afternoon. If your kitchen gets steamy, keep it away from the stove too.
Think about your pet's height while you are at it. Daisy is low to the ground, so floor level suits her fine. If you have a tall dog or a cat that prefers to eat up off the floor, a low, sturdy platform can bring the bowl to a comfortable height, but it has to be rock solid. A wobbly platform defeats the whole purpose.
One more thing I learned the hard way: measure the footprint before you commit if space is tight. The feeder is not huge, but it does take up a patch of floor you will need to live with. Make sure it is not blocking a door swing or the path to the fridge, or you will resent it within a week.
Step 2: Set the Clock, Then Program Meal Times
Before anything else, set the clock on the feeder. Every meal time keys off it, and if the clock is wrong, the whole point is gone. The PetSafe setup is a simple press-and-adjust routine that took me about ninety seconds. The directions printed on the underside of the lid are actually readable, which is rare for a gadget.
Now decide how many meals your pet should actually get. Daisy gets two: 7:00 in the morning and 5:30 in the evening. This feeder holds up to five meals, so you can run two, three, four, or even five servings a day. Space them evenly when you can. A dog that needs three smaller meals is better served at 7:00, 12:00, and 5:00 than with one giant portion.
Program each meal time one at a time, then scroll back through what you set to double-check it. Write the times on a sticky note and put it on the fridge for the first week. It sounds silly, but you will doubt yourself the first morning when the feeder serves breakfast without you touching it. That note keeps you from opening the lid to check and accidentally resetting something.
A quick note on the clock if you change the batteries: the time can reset, and then every meal drifts. I write the current time on a piece of tape stuck to the back of the unit, so after a battery change I do not have to hunt for the manual. It takes ten seconds and it saves a confusing week of early or late meals.
Step 3: Fill Each Compartment With the Right Portion
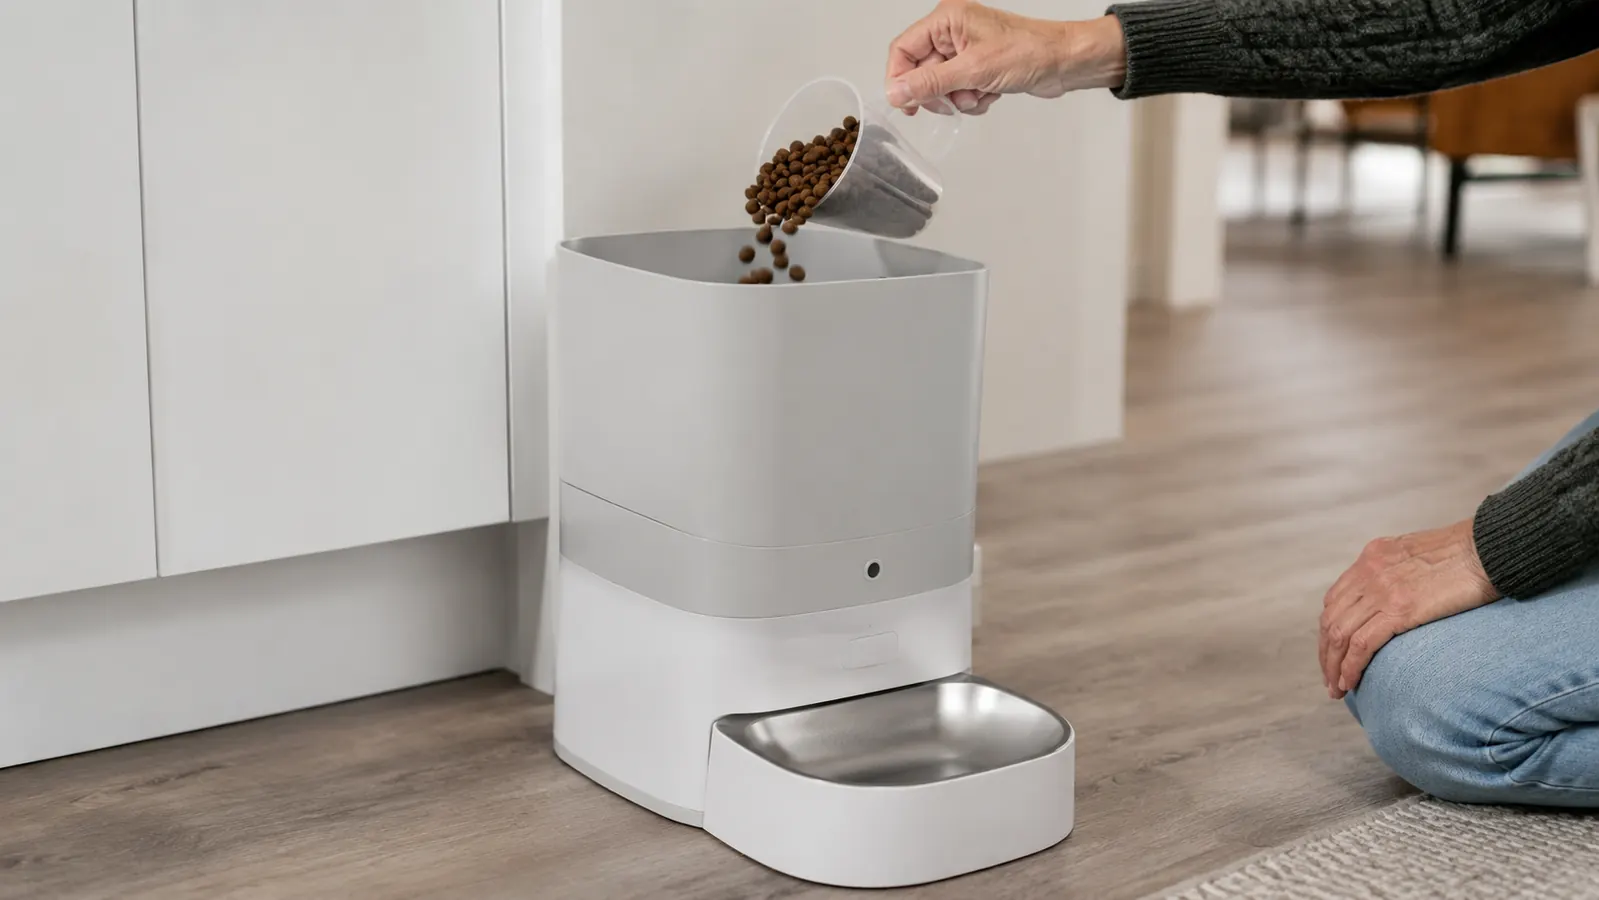
Here is the part most people miss: with a feeder like this, portion control happens at fill time, not at serving time. Each compartment is one meal, and you decide what goes in it. For Daisy, that is one level cup of kibble in the 7:00 compartment and one level cup in the 5:30 compartment. The other three stay empty until I need them for a long day or a weekend.
Use the same measuring cup every single time. I keep a plastic scoop that holds exactly one cup in the kibble bin, so I never eyeball it. If your vet has given you a portion by weight, weigh it once on a kitchen scale, write down the number, and then use the same scoop every day. Consistency is the entire point of this machine.
Do not overfill. Leave a little room in each compartment so the lid closes completely and nothing spills when the feeder moves to the next meal. Because the lid seals between meals, the 5:30 portion is still fresh at 5:30, not stale or dusted over. That seal is also the reason this is a dry-food feeder. Wet food spoils and gums up the works, so if your pet eats canned or raw food, this is not the feeder for you.
Portions are also where you make up for a bag change. When I switched kibble brands, the new food was a different density, and the same scoop no longer weighed what the vet wanted. I re-weighed one scoop, adjusted to a slightly smaller or larger amount, and went back to the same routine. The feeder does not care what brand you use, as long as you fill the compartments consistently.
Step 4: Introduce the Feeder Before You Trust It With a Meal
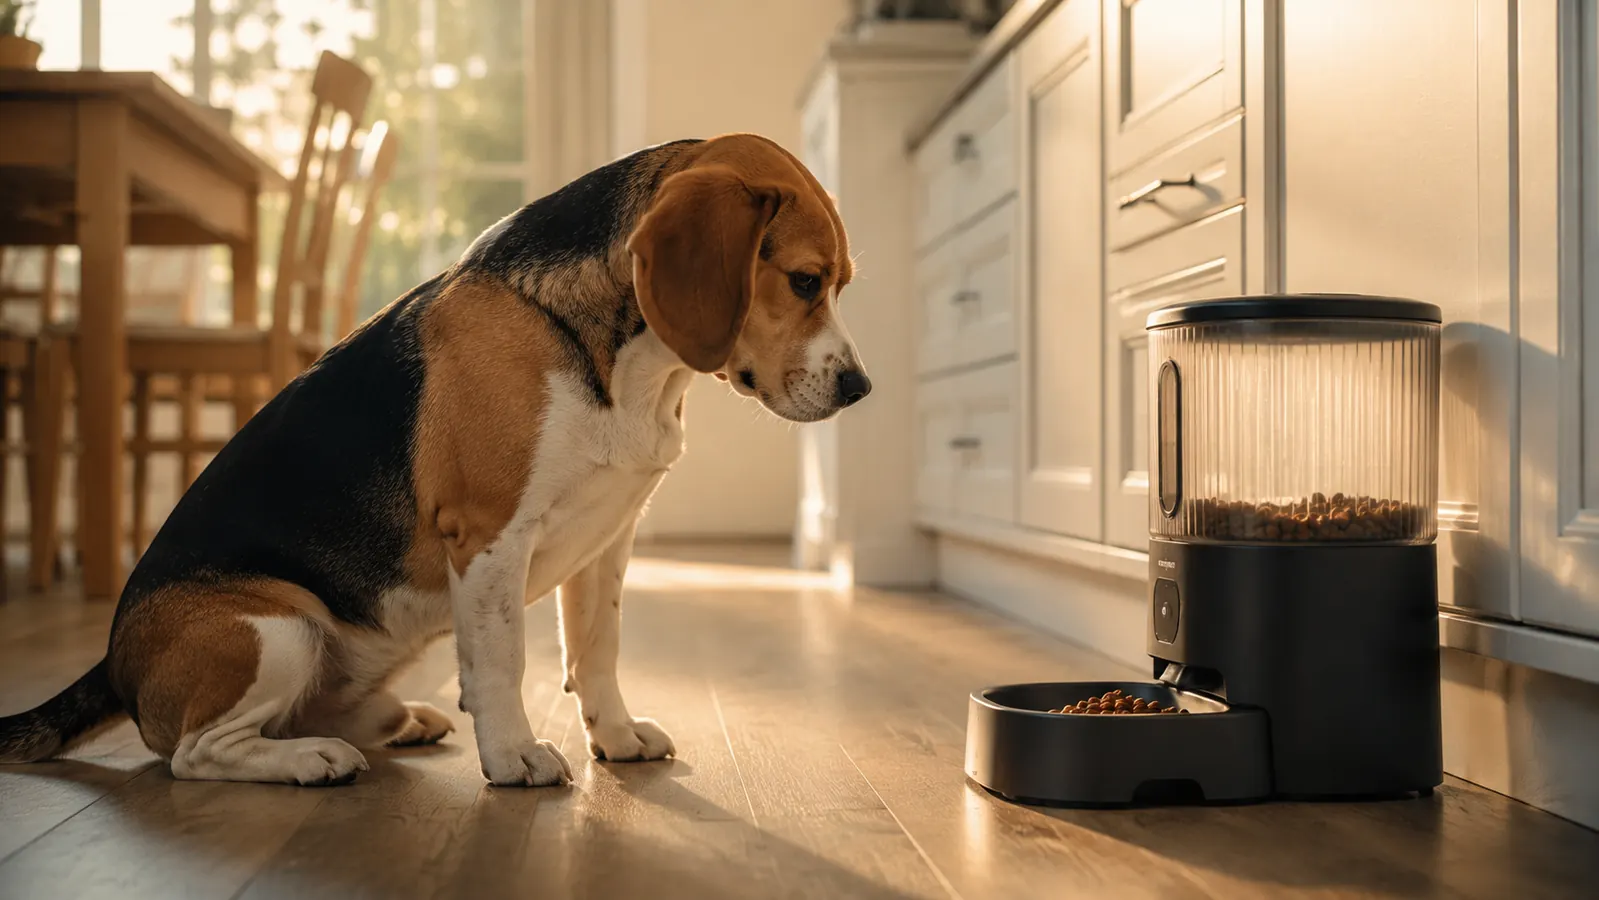
Do not fill it, program it, and leave the house on day one. That is how you come home to a pet that has decided the kitchen appliance is a threat. Set the feeder in its spot while it is off and let your pet sniff it. Daisy gave it one long suspicious look and then lost interest. The cat ignored it completely.
Then run one cycle while you are home and your pet is watching. Let the feeder open a compartment with a couple of treats inside. That builds the association: machine noise means good things appear. If your pet startles at the sound, do this a few times over a day or two before you program a real meal. Patience here saves a lot of stress later.
When the first real meal is scheduled, be home for it. Watch the feeder serve, then feed your pet from the bowl exactly the way you normally would. Pets learn routines fast. Daisy had the schedule in about three days and started waiting by the feeder a few minutes before it was due. She trusted it before I fully did.
And if you have multiple pets with different diets, know this feeder's limit. It serves one portion per meal slot from the same bowl, so it cannot tell a cat from a dog. For a house where one pet needs a special diet, you would need a microchip feeder or a separate feeding station. That is worth knowing before you build the whole routine around one machine.
Step 5: Keep a Refill Routine and Clean the Parts That Touch Food
A feeder only helps if you keep it fed. I fill the compartments every morning for the next day or two, and the whole thing takes about ninety seconds. I always fill the same compartments for the same meal times, so I never have to wonder which bowl is which when it is time for the next meal. That consistency is what keeps the routine from falling apart.
Clean the compartments, the lid, and the bowls once a week with warm soapy water, and dry them completely before you reassemble it. Kibble oil builds up on plastic and turns into that stale, greasy smell, and a damp feeder is the last place you want to leave food. Check the power source your manual calls for, and keep fresh batteries or a working adapter on hand. A feeder that dies at dinner time is worse than no feeder at all.
One more honest note: this is a dry-food feeder, full stop. If your pet eats wet, canned, or raw food, this model is the wrong tool, and no amount of programming fixes that mismatch. For kibble-fed dogs and cats, though, mine has been boringly reliable for five months, and boring is exactly what I wanted from a machine that feeds my dog when I am not home.
Set a reminder on your phone for the weekly clean. I use the same day every week, Sunday morning, right after breakfast. If a compartment feels greasy or the lid is sticking, that is the sign to clean it sooner. A little routine maintenance is the difference between a feeder that lasts for years and one that gets tossed after a season.
What Else Helps
The feeder does its job, but it works better with a few small habits. Keep the same schedule on your days off. The whole point is consistency, and if you hand out extra snacks at odd hours on weekends, you undo the portion control you set during the week. The feeder cannot fix a schedule you keep sabotaging.
Keep a clean bowl of water next to the feeder and check it every time you refill the compartments. If you are using the feeder to manage your pet's weight, re-weigh the portions every couple of months, because kibble density changes between bags. And if you travel a lot, the five compartments give you a weekend of coverage, but anything longer still needs a pet sitter or a boarding spot.
I also point a cheap camera at the feeder now, which sounds excessive until the first time you need it. When I am at work and my phone pings, I can see that breakfast actually landed and Daisy actually ate it. That tiny confirmation takes the mental load off completely, and it caught a missed meal before it became a habit.
Finally, keep an eye on how your pet reacts to the schedule over a few weeks. Daisy stopped pacing at the door, which told me the routine had taken. If your pet seems anxious or starts guarding the feeder, slow the introduction down and feed some meals by hand on schedule instead of letting the machine do all of them. The feeder is a tool, not a babysitter, and you are still the one who knows your pet best.
By the third day, Daisy was sitting by the feeder at 5:25, wagging like it was Christmas, a full five minutes before the next meal was due. She learned the schedule faster than I ever did.
Give your pet a schedule that does not depend on you
Five months in, this PetSafe feeder still serves Daisy's breakfast and dinner on time, every day. If your mealtimes drift the way mine did, this is the fix that stuck.
Amazon See Today's Price on Amazon →