
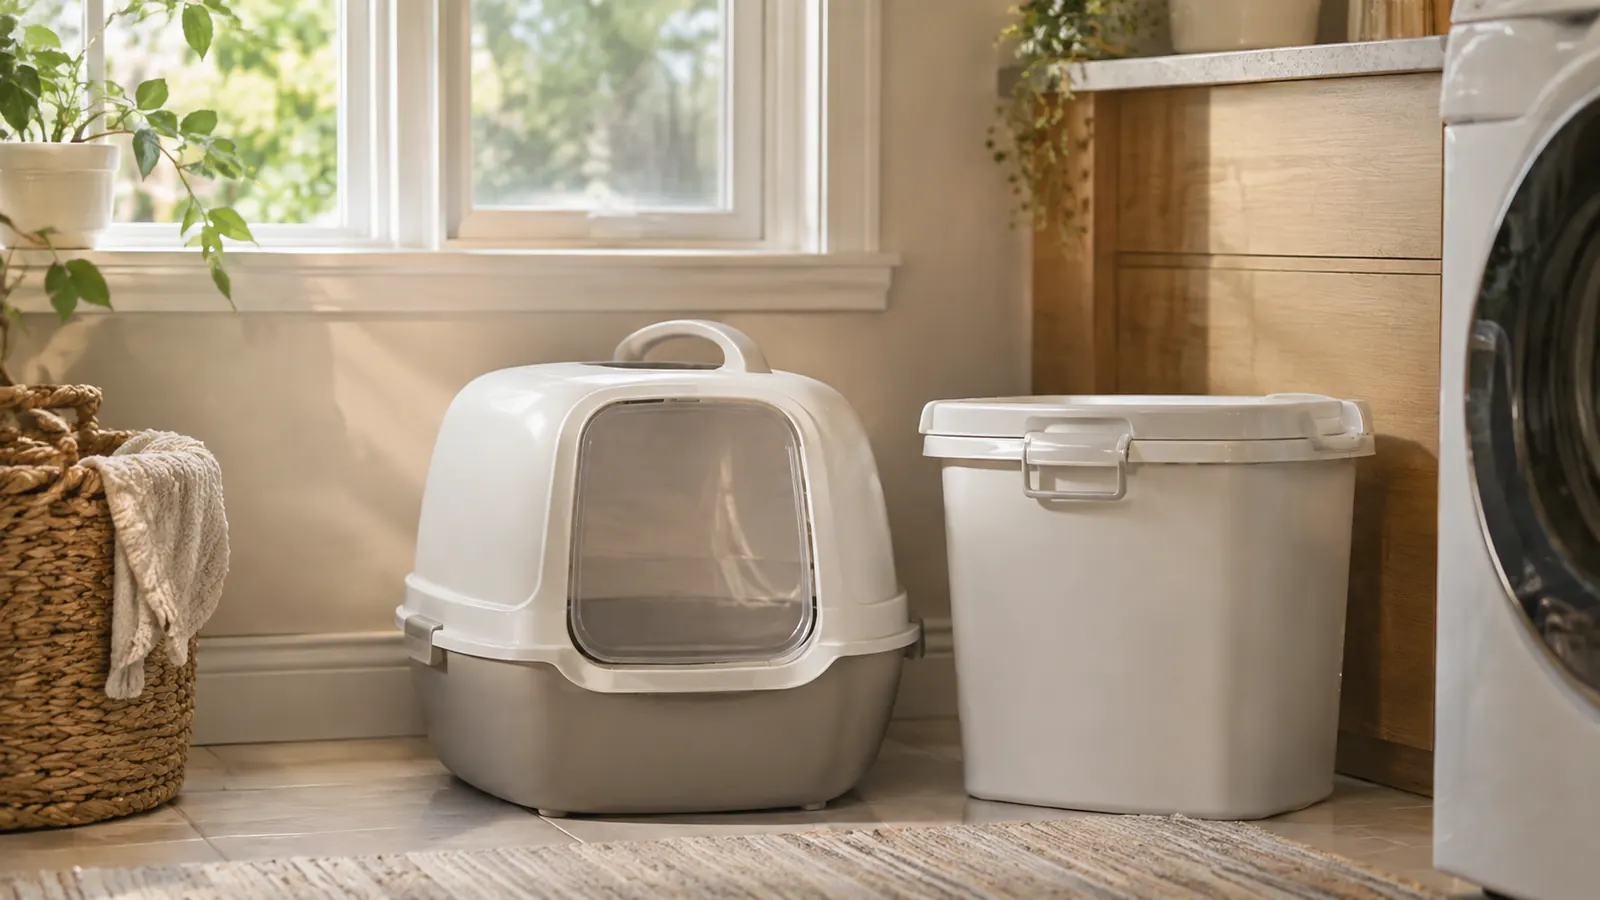
I have two cats, Milo and Cleo, and for a long time the laundry room was the first thing anyone smelled when they walked into the house. I scooped the litter box every day, tried scented litter, baking soda in the bottom of the pan, even a plug-in air freshener right next to the box, and the smell always came back. The problem was never the box. It was the disposal: I was dropping the wet clumps into a small trash can with a lid, and every time that lid opened the room got a fresh hit of the exact smell I was trying to get rid of. What finally fixed it was the Litter Genie XL+ pail, a sealed waste pail that traps each scoop behind a spring flap so used litter never sits where you can smell it.
This guide is the routine I landed on after using the Litter Genie for months: five steps that cover sizing the pail to your cat count, loading the refill so it seals, building a scooping rhythm you will actually keep, emptying before the pail is full, and pairing the pail with smart litter box placement. It is not complicated, and that is the point. Most of the smell in a cat home comes from used litter sitting somewhere you can smell it, and a Litter Genie simply stops that from happening.
Before you start, gather the basics: the pail itself, a refill cartridge, a decent slotted scoop, and a spot near the box where the pail can sit out of the way. Read the little diagram on the inside of the lid once, because the refill loading is the one step that is easier to see than to read about. And be honest with yourself about how many cats you are scooping for, because that answer drives the very first decision.
The pail that stopped our laundry room from smelling
The Litter Genie XL+ pail holds weeks of scooped litter for a multi-cat home, seals each clump behind a spring flap, and is rated 4.5 stars by more than two thousand owners. It is the pail that ended the smell in our house.
Amazon Check Today's Price on Amazon →Step 1: Size the Pail to Your Cat Count
The biggest mistake I almost made was buying the smallest pail because it was a few dollars cheaper. The Litter Genie comes in a standard size and the XL+ version, and for more than one cat the XL+ is the one to get. We have two cats and the XL+ takes three to four weeks to fill, which means fewer refills and less time messing with the bag. The XL+ uses the jumbo 24-foot refill, so you are not buying cartridges as often either.
The honest part: the smaller pail works fine for a single cat, and if you only have one cat it will save you a little money up front. But the refill cartridges cost about the same either way, and a pail that fills up every week and a half gets emptied so often that you lose the convenience that makes the whole system work. Match the pail to the number of cats you scoop for, not the size of the room you are putting it in. A house with three cats should go straight to the XL+, and a single-cat apartment can get away with the standard size.
I keep our pail on a low shelf beside the litter box rather than on the floor. The handle makes it easy to carry to the outdoor bin on empty days, and keeping the base off the floor means it does not collect litter dust and tracking. It also stays out of the cats' path, so nobody knocks it over mid-scoop. If space is tight, the XL+ footprint is modest, but give it a clear spot before you commit so it is not blocking a door or a cabinet you use daily.
Step 2: Load the Refill So the Bag Seals on the First Try
The refill is a continuous tube of plastic that you pull up through the pail, tie off at the bottom, and close with a built-in clip. I got this wrong the first time and spent a few minutes wrestling with it, so here is the order that works. Drop the cartridge into the pail, pull the end of the tube up and through the lid, tie a knot in the end, and thread that knot through the holder ring so it sits just outside the lid. The cartridge rests in a compartment in the lid, and the tube feeds down into the body of the pail.
The trick that made it click for me: pull up more tube than you think you need before you tie the knot. You want enough slack that the bag opens fully inside the pail. If you tie it too tight, the bag hugs the sides and clumps pile up near the top instead of falling to the bottom, and you will be emptying the pail twice as often as you should. Give it a few extra inches and every scoop drops to the bottom of the bag, so you get the full three or four weeks out of each refill.
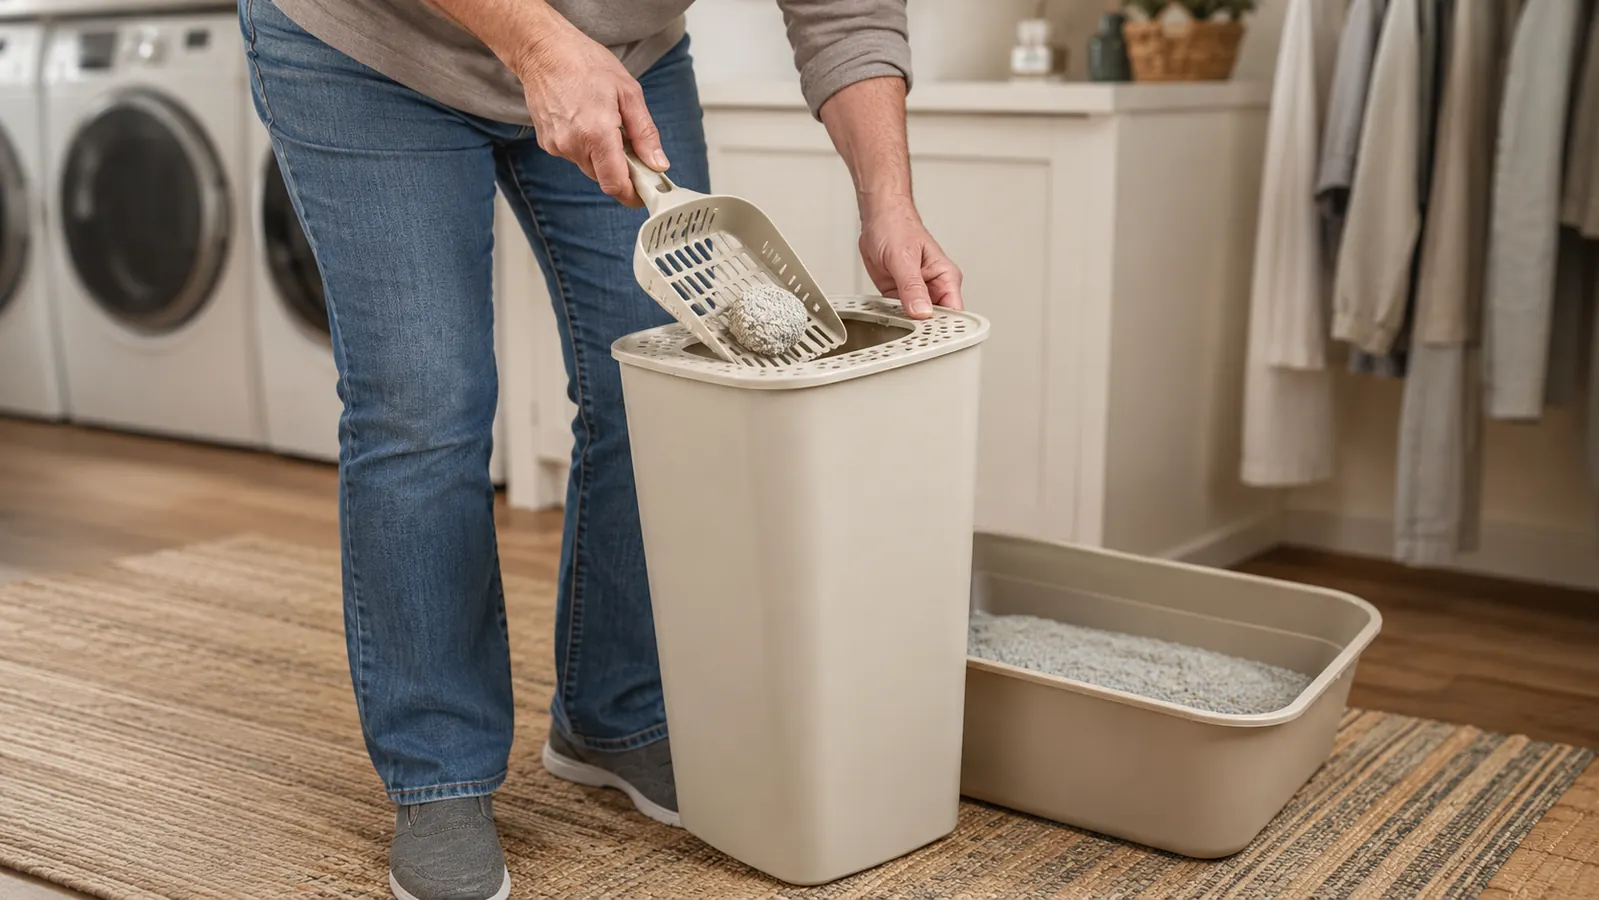
The lid has a spring-loaded flap on top. You do not open a big lid every time you scoop, you push the scoop through the flap and it snaps shut behind it. That flap is the whole odor-control trick, and it only works if the refill is seated properly, so it is worth getting this step right once. When the flap seals, the smell stays inside the pail instead of drifting into the room. If your pail ever starts to smell, the first thing to check is whether the refill has slipped and the flap is no longer closing.
Step 3: Build a Scooping Rhythm You Will Actually Keep
No pail removes the need to scoop. The Litter Genie's real job is to make scooping fast enough that you actually do it every day, and that is where the odor win comes from. My routine is simple: I scoop once in the morning with my coffee and once after dinner, about two minutes each time. The clumps go through the flap and the lid snaps shut, so the smell never reaches me and it never reaches the room.
If you are not a twice-a-day person, once a day is enough for most single-cat homes. What controls odor is consistency, not frequency. A box that gets scooped once a day every day smells better than a box that gets a deep clean twice a week, because the ammonia from old urine is what lingers. The pail makes the daily scoop quick enough that there is no good reason to put it off. Two minutes in the morning and the job is done before you have finished your coffee.
A note on what goes in the pail: both urine clumps and solid waste. Do not bother separating them or trying to stretch the bag by packing it down. The refill is cheap compared to the smell you are avoiding, and packing the bag past the flap is how the room ends up smelling anyway. If you use a clumping litter, give the clumps a few seconds to set before you scoop so they hold together instead of crumbling back into the box.
Step 4: Use the Seal, and Empty the Pail Before It Is Full
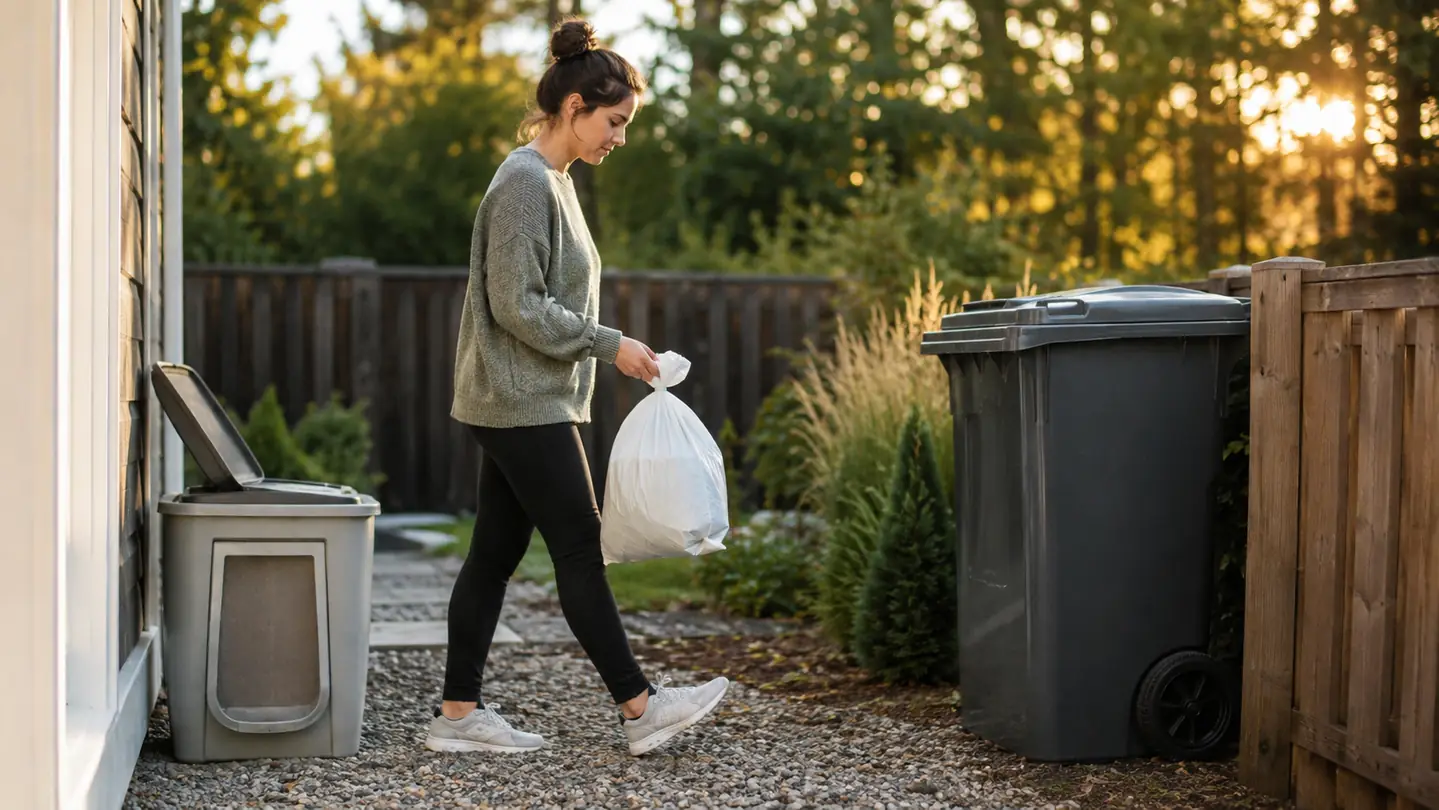
The pail controls odor in two ways: the flap seals after every scoop, and the bag stays sealed at the top so the contents stay contained when the cartridge is full. When the pail gets close to full, I pull the tube up out of the cartridge, tie it off, and cut it free with the little blade built into the lid. That seals the full bag shut before it ever leaves the pail, so you are not carrying an open bag of used litter through the house.
Here is the mistake I made early on: I let the pail get completely full before emptying it. A full pail means the bag is packed right up to the flap, and the flap no longer seals because a clump is sitting in the way. Once I started emptying it at about three-quarters full, the seal worked the way it was designed to and the room stopped smelling entirely. You can tell it is time when the clumps start to pile up close to the opening instead of dropping out of sight.
On empty day I carry the sealed bag straight out to the outdoor bin, wipe the inside of the pail with a damp paper towel, and load a fresh refill. That whole process takes about five minutes and happens every three to four weeks for two cats. Compared to the daily trips to the outside bin I used to make, it is almost no work at all. The tied bag does not leak and does not smell on the way out, which is the entire reason the system works.
Step 5: Pair the Pail With Litter Box Placement
A litter pail handles the smell of used litter, but it cannot fix a box that is in the wrong spot. Keep the box somewhere with a little airflow, away from heat vents and direct sun. Heat makes urine smell worse, and a warm litter box is working against you. Our laundry room works because it has a vent fan and the box is not jammed into a corner. If your only option is a closet, leave the door cracked and run a small fan on low.
Keep the pail near the box but not right on top of it. You want the scoop-to-pail trip to be one step, but you also want the pail out of the cats' path so it does not get knocked over. The XL+ has a wide, stable base and neither of our cats has ever tipped it, but it is still worth giving it a spot where it will not be in the way. Right beside the box, one step over, is the sweet spot.
The scoop itself matters more than people think. A metal scoop with a slotted head lets clean litter fall through and catches only the clumps, so you are not dumping good litter into the pail and burning through your refill faster. Pair a decent scoop with the pail and your bag of litter will last noticeably longer. A plastic scoop with solid sides does the job, but it takes a few extra passes to get the clump out clean.
What Else Helps
The pail was the biggest change, but a few other things moved the needle. I switched to a clumping litter without added fragrance, because scented litter just mixes with the urine smell instead of removing it. I put a rubber mat under the box to catch tracking, and I give the box a full wash with mild soap and water once a month, letting it dry completely before refilling. None of those replace the pail, but together they keep the room smelling like a laundry room instead of a litter room.
One more honest point: the pail has a recurring cost. The refill cartridges run out and you have to buy more. That is the trade for not carrying every scoop out to the outside bin, and for us it is worth it. If you want zero recurring cost, a plain bucket with a lid costs less up front, but it also lets the smell out every time you open it, which is the whole problem. The pail itself is a one-time purchase, so check today's price and weigh it against how many trips to the bin you make in a week.
If you have a very strong stomach and a very short walk to the bin, you can skip the pail and keep carrying each scoop out as you go. But in a multi-cat home, or any home where the box is more than a few steps from the door, the pail pays for itself in convenience alone. The smell test is simple: if your litter room still smells an hour after you scoop, the problem is likely the disposal, not the box.
Once I stopped letting scooped litter sit in an open trash can and started sealing every clump behind that flap, the laundry room stopped smelling like a litter box for the first time in a year.
If your litter room still smells after a fresh scoop, this is the missing piece
The Litter Genie XL+ is the pail we have used every day for months. It seals each scoop, holds weeks of clumps, and cuts the trips to the outdoor bin down to about once a month. If your box smells no matter how often you scoop, this is the fix that finally worked for us.
Amazon Check Today's Price on Amazon →